
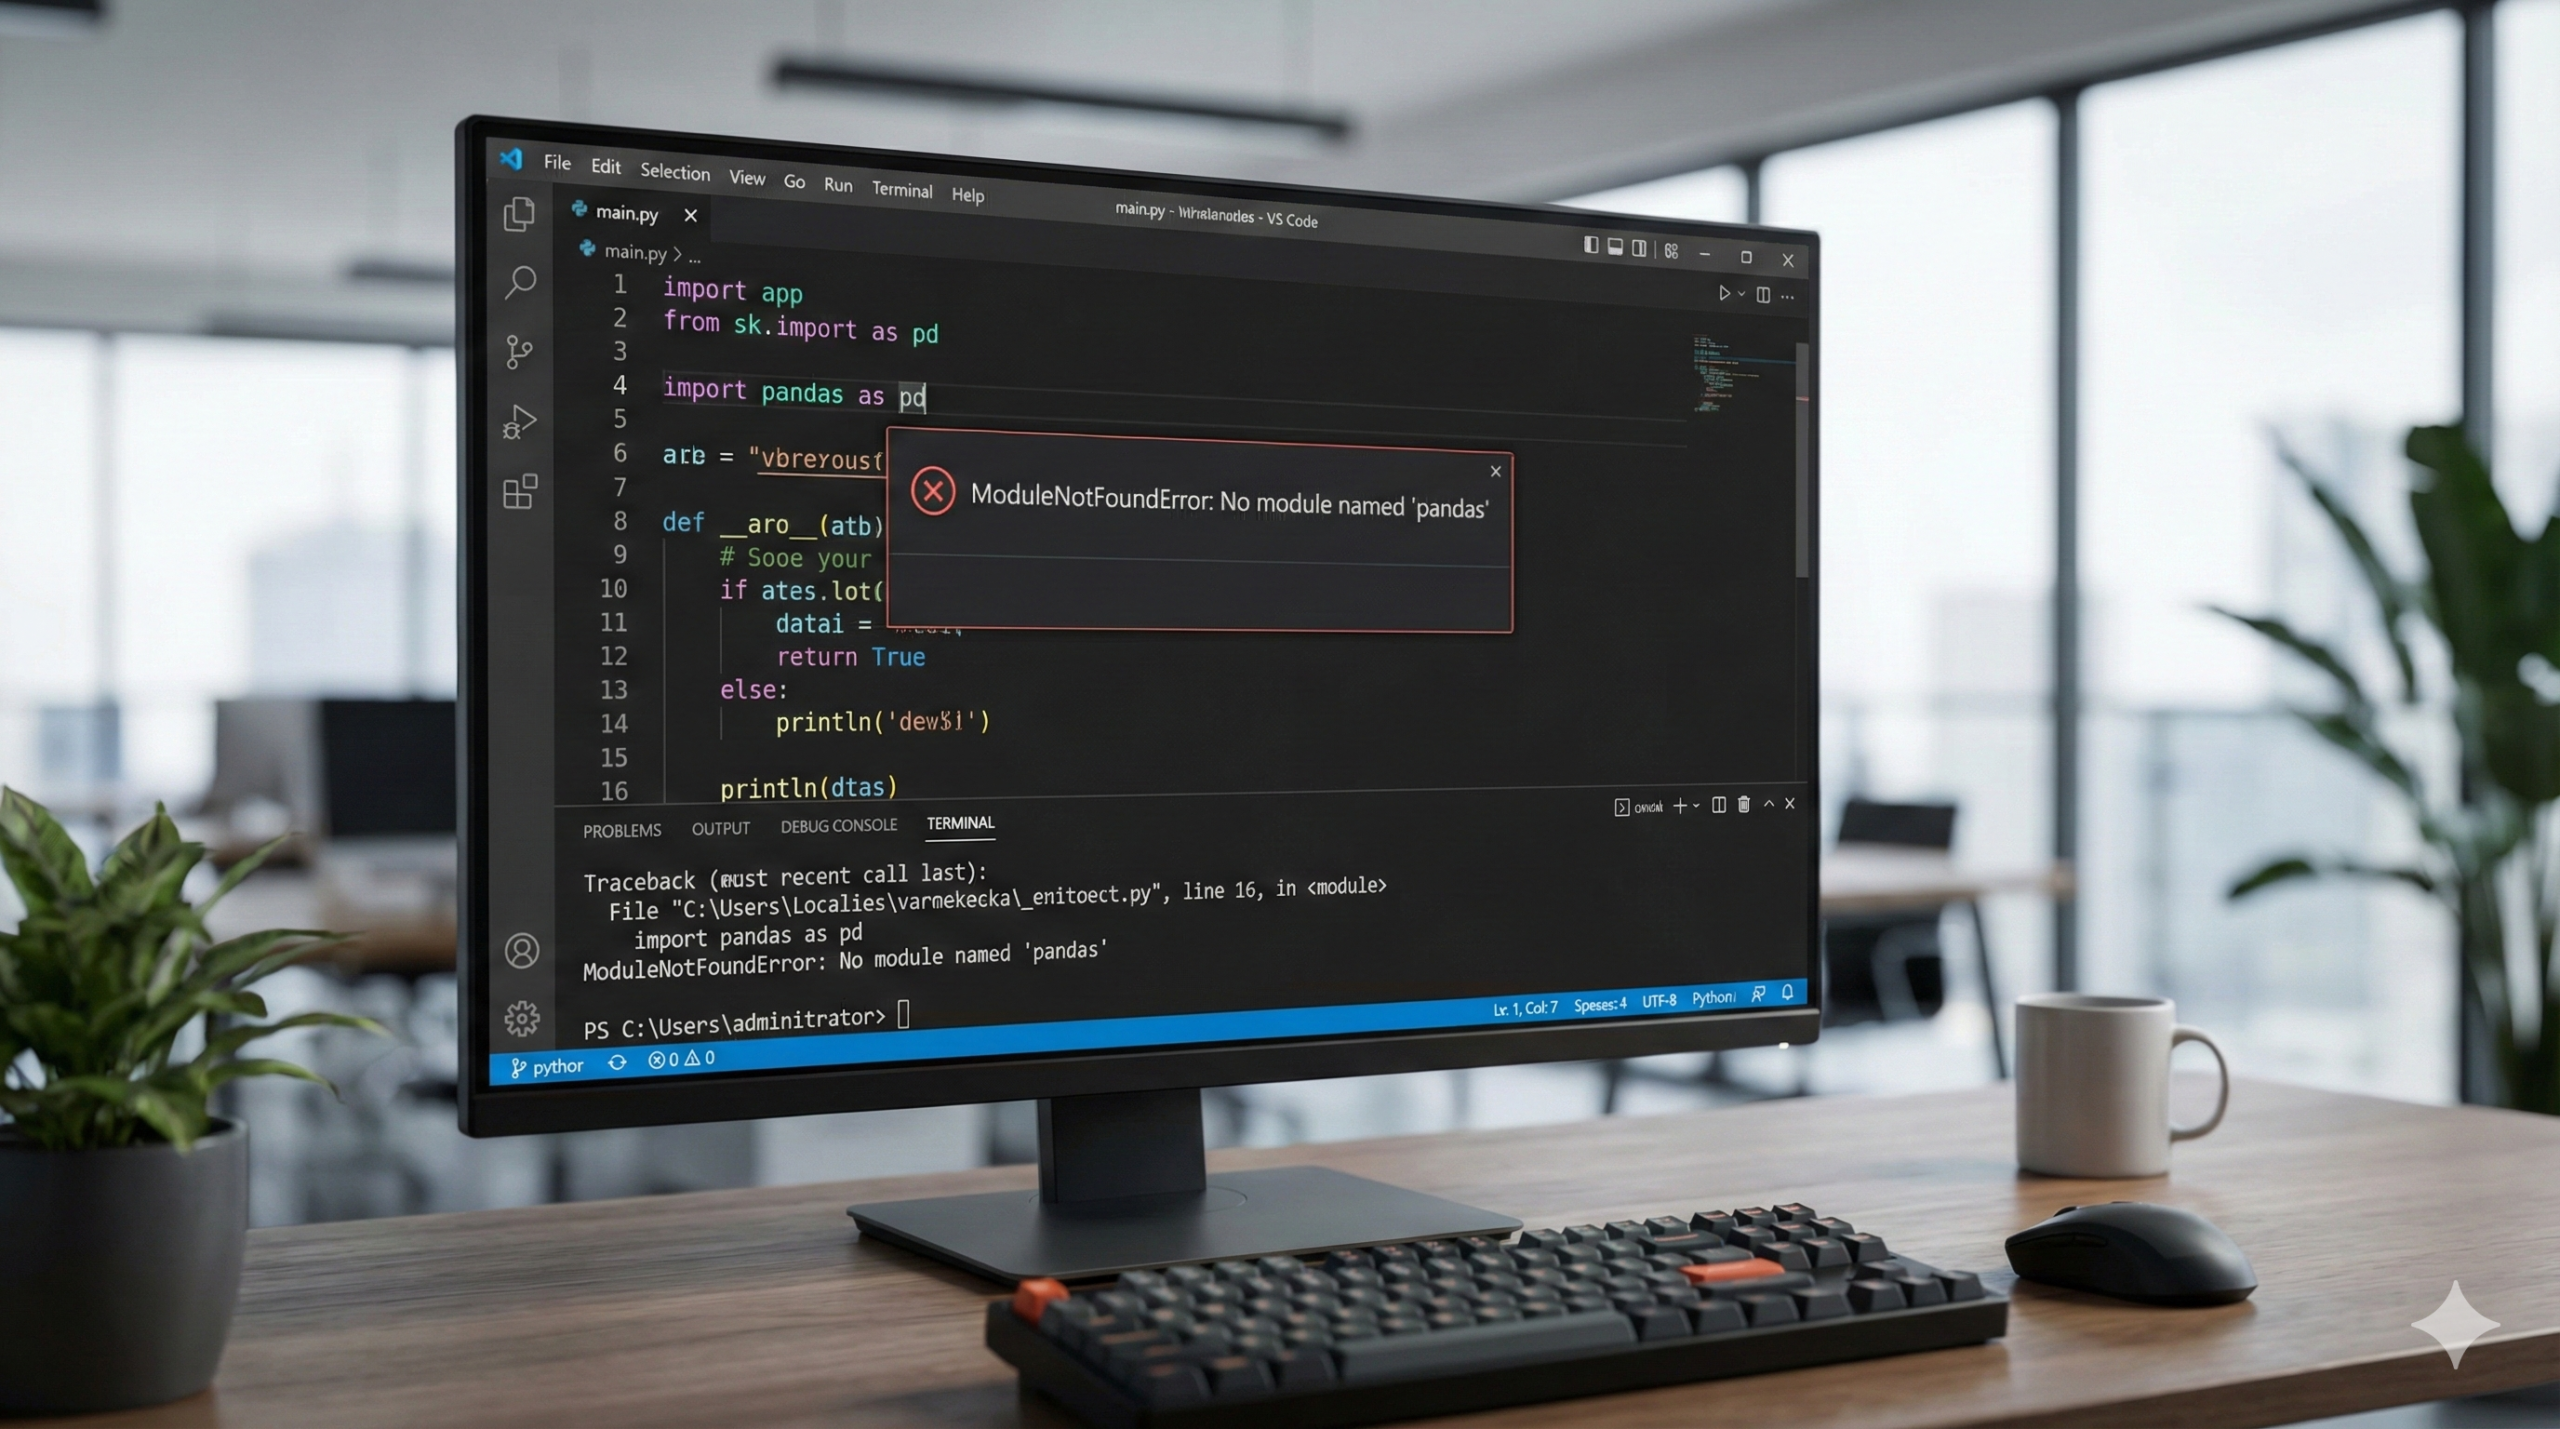
Are you struggling to fix modulenotfounderror no module named pandas in your Python project? You type import pandas as pd, hit run, and get this error message immediately. It is the single most common hurdle for data science beginners, stopping your analysis before it even starts.
The root cause isn’t usually that you forgot to install pandas. It’s almost always an issue of Multiple Python Environments. You likely installed pandas in one place (e.g., your global Python installation), but your IDE (like VS Code or PyCharm) is trying to run your code using a different Python executable. This guide shows you exactly how to align them.

Step 1: The Universal Command to Fix ModuleNotFoundError No Module Named Pandas
Most guides will tell you to just run pip install pandas. As a senior developer, I advise against this. Depending on your system’s PATH, pip might point to a different Python version than the command python.
To properly fix modulenotfounderror no module named pandas, you must ensure you install the library into the exact Python environment currently active in your terminal. We do this using the executable flag -m.
If your terminal says ‘pip is not recognized’ when you try to install, don’t panic. Check our guide on how to fix pip is not recognized error first.
For Windows:
Bash
python -m pip install pandas
For macOS / Linux:
Bash
python3 -m pip install pandas
Why this works: Running python -m pip guarantees that the pip being executed belongs to the specific python interpreter currently active in your shell. This eliminates “path mismatch” errors.
Step 2: How to Fix ModuleNotFoundError No Module Named Pandas in VS Code
VS Code is notorious for defaulting to the wrong Python interpreter. Even if you installed pandas in your terminal, VS Code might be looking at a different installation, causing the import error.
- Open your Python file in VS Code.
- Look at the Bottom-Right Corner of the window. You will see a version number (e.g.,
3.10.2) or the words “Select Interpreter”. - Click that text to open the command palette.
- The Fix: Select the interpreter marked as (Recommended) or look for the one labeled
('venv': venv).- If you see multiple Python versions, select the one where you ran the install command in Step 1.
- Once selected, run your code again.
Step 3: Fixing the Error in Jupyter Notebook / Anaconda
Jupyter Notebooks run on “Kernels,” which are isolated environments. Installing pandas in your system terminal often does not make it available to your Jupyter Kernel.
The Direct Fix (Run inside a cell): The safest way to resolve the error here is to run the installation command inside a notebook cell using the ! magic command.
Python
!pip install pandas
Note: Run this cell, wait for the installation to complete, and then restart your kernel (Kernel > Restart).
For Anaconda Users: If you are using the Anaconda Navigator, it is best practice to use conda rather than pip to avoid dependency conflicts. Open your Anaconda Prompt or terminal and run:
Bash
conda install pandas
Step 4: Solving the Issue in PyCharm
PyCharm creates a fresh virtual environment for every new project by default. This means even if you have pandas on your computer, your new PyCharm project starts empty.
- Open PyCharm and go to File > Settings (on macOS: PyCharm > Settings).
- Navigate to Project: [Your Project Name] > Python Interpreter.
- You will see a list of installed packages. If pandas is missing, click the “+” button (usually on the top left of the package list).
- Search for “pandas” in the search bar.
- Click Install Package at the bottom.
- Wait for the indexing to finish, and your import will work.
Common Pitfalls (FAQ)
Q: I installed it, but it still fails in the terminal. A: You might have multiple versions of Python (e.g., Python 3.9 and Python 3.12). If you run pip install pandas, it might go to 3.9, but if you run your script with python3.12 myscript.py, it won’t find it. Always check python --version and pip --version to ensure they match.
Q: I get a “Permission denied” error. A: If you are not using a virtual environment, your system might block the install. add the --user flag to install it locally for your user account only:
Bash
python -m pip install pandas --user
Q: Should I use a Virtual Environment? A: Yes. Always. Creating a virtual environment (python -m venv venv) isolates your project. If you are in a virtual environment, simply activating it and running pip install pandas will solve 99% of these issues.
If you encounter permission errors during installation, you might need to fix your Windows permissions. See our guide on how to fix Error 0x80070005 (Access Denied).
Conclusion
The “ModuleNotFoundError” is rarely a bug; it is a configuration mismatch. Whether you are in VS Code, PyCharm, or Jupyter, the solution is always the same: Match the Installation to the Interpreter. By using python -m pip and manually selecting your interpreter in your IDE, you ensure that pandas is exactly where your code expects it to be.
Now that your environment is ready for data science, make sure your version control is smooth too. Read our guide on Fixing Git Merge Conflicts in VS Code.
Yorumlar kapalı.