

Is your Mac running slow or showing the dreaded “Your disk is almost full” message? You aren’t alone. Even powerful MacBook Pros and iMacs can get bogged down over time. The culprit is often hidden in plain sight: Cache and System Data.
As an Apple Certified Technician, I see this daily. Your Mac is designed to be self-sufficient, but over months of use, temporary files that were meant to speed things up actually start slowing you down. They clog your storage, conflict with updates, and create the infamous “spinning beachball of death.”
In this comprehensive guide, I will walk you through exactly how to clear cache on Mac, reduce bloat, and reclaim your drive space safely.
Understanding the “Junk”: What is Cache?
Before we start deleting, it is vital to understand what we are removing. “Cache” consists of temporary data files stored by your system, browsers, and apps to load content faster the next time you access it.
There are three main types of cache on macOS:
- Browser Cache: Images, scripts, and cookies from websites (e.g., Safari, Chrome).
- System Cache: Temporary files created by macOS to run system services.
- Application Cache: Data stored by apps like Spotify, Adobe Creative Cloud, or Slack to load media or projects quickly.
⚠️ CRITICAL WARNING: While clearing cache is generally safe, deleting the wrong system files can cause macOS to become unstable or apps to crash. Always back up your Mac via Time Machine or an external drive before deleting files from the Library folder. Proceed with caution.
Method 1: Clearing System Cache (The Hidden Junk)
System cache files are stored deep within the macOS library. These files do not typically spark joy—or speed—once they become outdated. Over time, they just take up space.
How to Clear Cache on Mac System Manually
This is the most direct way to remove the “Other” or “System Data” bulk.
- Close Active Apps: Ensure all major applications are closed to prevent errors.
- Open Finder: Click the Finder icon in your Dock.
- Use the “Go to Folder” Command:
- In the menu bar, click Go.
- Select Go to Folder… (or press
Shift+Command+G).
- Enter the Path: Type the following path exactly and hit Enter:
~/Library/Caches - Identify Folders: You will see a list of folders with names like
com.apple.safariorcom.spotify.client. Each folder corresponds to an app or system service. - Select and Delete:
- Technician’s Rule: You can delete the contents of these folders, but it is generally safer to leave the folders themselves intact.
- Press
Command+Ato select all (or manually select specific large folders if you know what you are doing). - Drag the files to the Trash or right-click and select Move to Trash.
- Empty Trash: Right-click the Trash icon in your Dock and select Empty Trash.
Pro Tip: If you see a folder named
com.apple.ccp, leave it alone. Some system-critical caches will regenerate immediately, while others stay deleted until needed again.
Method 2: Clearing Browser Cache (Chrome & Safari)
Browser cache is the most common form of digital clutter. Every image, CSS file, and script from every website you visit is stored here. If websites are loading strangely or showing old content, clearing this cache is the fix.
How to Clear Cache on Mac Safari
Apple hides the deep cleaning features for Safari behind a “Developer” menu. Here is how to unlock it:
- Open Safari.
- In the top menu bar, click Safari > Settings (or Preferences on older macOS versions).
- Go to the Advanced tab.
- Check the box at the bottom that says “Show features for web developers” (formerly “Show Develop menu in menu bar”).
- Close the Settings window. You will now see a Develop option in the top menu bar.
- Click Develop > Empty Caches.
Note: There is no confirmation dialog. Safari will simply flush the cache instantly. You may need to reload your current web pages.
How to Clear Cache and Cookies on Chrome
Google Chrome is notorious for hoarding RAM and cache.
- Open Google Chrome.
- Click the three vertical dots in the top-right corner.
- Navigate to Delete browsing data… (or press
Shift+Command+Delete). - In the pop-up window:
- Set Time range to All time for a complete clean.
- Check Cached images and files.
- Optional: Check Cookies and other site data (Warning: This will sign you out of most websites).
- Click Delete data.
Method 3: Clearing Application Cache
Do you use Spotify, Xcode, Slack, or Adobe Premiere? These apps store massive amounts of data locally. For example, Spotify caches almost every song you listen to so it doesn’t have to stream it again.
Removing Application Cache Files
- Follow the steps from Method 1 to return to
~/Library/Caches. - Look for folders specific to your apps. Common culprits include:
com.spotify.client(Spotify)com.apple.dt.Xcode(Xcode developer tools)com.microsoft.teams(Microsoft Teams)
- Delete Specific App Caches:
- Open the specific app’s folder.
- Delete the files inside.
- Verify: Restart the application. It may take slightly longer to launch the first time as it rebuilds a fresh, non-corrupt cache.
If you experience sync issues after clearing data, check Google Chrome Help for troubleshooting steps.
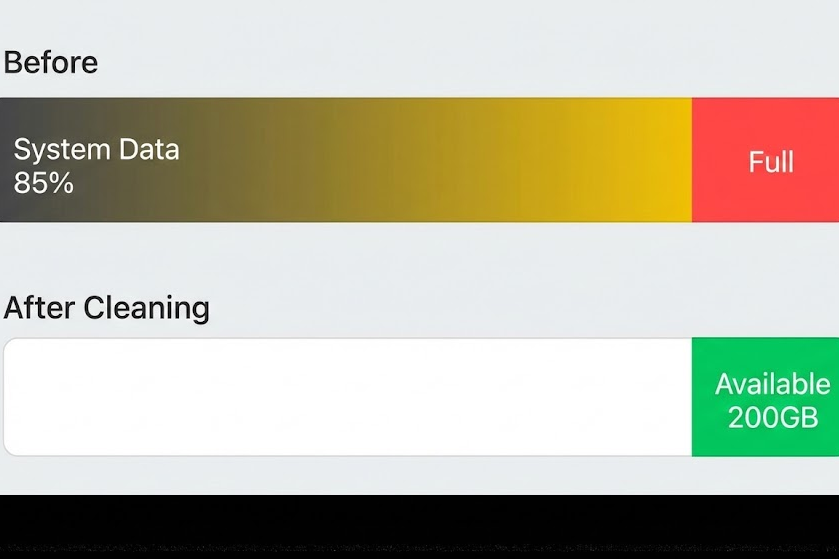
The “System Data” Problem
One of the most frustrating things for Mac users is checking storage (System Settings > General > Storage) and seeing a massive grey bar labeled System Data (formerly labeled “Other”) taking up 50GB or more.
This category often includes:
- macOS update files that weren’t deleted.
- Disk images (.dmg files).
- Time Machine Local Snapshots.
How to Reduce “System Data” Storage on Mac
Local snapshots are backups your Mac creates when your external Time Machine drive isn’t connected. While useful, they can spiral out of control.
- Open Terminal (Command + Space, type “Terminal”).
- Type the following command to see a list of snapshots:Bash
tmutil listlocalsnapshots / - You will likely see a list of dates. If this list is long, it is eating your storage.
- To thin these snapshots, you can force a cleanup. While macOS does this automatically when space is critical, you can nudge it. The safest way is often just to connect your Time Machine backup drive and let a backup complete. The system usually purges local snapshots once they are safely on the external drive.
- Advanced/Manual Deletion (Use Caution): If you must delete them immediately via Terminal:Bash
tmutil deletelocalsnapshots [date](Replace[date]with the timestamp from the list generated in step 2).
For deeper insights into managing Mac storage, refer to the official Apple Support guide on freeing up storage space.
Bonus: Flush DNS Cache
If you are experiencing network issues—like websites not loading or “server not found” errors—your DNS cache might be corrupted. Flushing it resets your Mac’s address book of the internet.
How to Flush DNS Cache on macOS
This requires a Terminal command. It works for macOS Sequoia, Sonoma, Ventura, and Monterey.
- Open Terminal.
- Paste the following command:Bash
sudo dscacheutil -flushcache; sudo killall -HUP mDNSResponder - Press Enter.
- Type your Mac’s admin password. (Note: You won’t see the cursor move or characters appear while typing the password—this is a security feature).
- Press Enter again. You won’t get a “Success” message; if the cursor just moves to a new line, it worked.
Automated Solution (Optional but Recommended)
Manual cleaning is effective, but it is also tedious and carries a slight risk of deleting the wrong file. If you are not comfortable digging through the ~/Library folders, I generally recommend using a dedicated cleaning utility.
Tools often labeled as “Mac Cleaners” can scan for:
- System junk.
- Photo duplicates.
- Large/Old files.
- Unused app leftovers (files that stay behind after you drag an app to the Trash).
Tech Writer’s Note: Avoid “scareware” apps that claim your Mac is infected with 5,000 viruses. Stick to reputable utilities with notarization from Apple. A good utility essentially automates the rm -rf commands we discussed above, providing a safer UI for maintenance.
FAQ
Q: Is it safe to delete all cache files? A: Generally, yes. Cache files are regenerative. If you delete a cache file that an app actually needs, the app will simply create a new, clean version of it the next time you open it. However, never delete the folders inside /System/Library/—stick to ~/Library/Caches (User Library).
Q: Will clearing cache delete my passwords? A: Clearing browser cache will not delete passwords, but clearing cookies will sign you out of websites. System caches do not contain your passwords (those are stored in the Keychain).
Q: How often should I clear my Mac cache? A: You don’t need to do this daily. I recommend a “Spring Cleaning” approach: clear your caches once every 3-4 months, or immediately if a specific app starts crashing or your storage is critically low.
Q: Why does “System Data” grow back after I delete it? A: macOS is dynamic. As you stream music, browse the web, and edit files, the system generates new temporary data to keep things smooth. The goal isn’t to keep System Data at zero (impossible), but to keep it from consuming your entire drive.
Developers clearing space for new projects should also check our guide on fixing Python environment errors.