
In this guide, we will show you how to Fix Error 0x80070005 in Windows 10 and 11 quickly.
Introduction
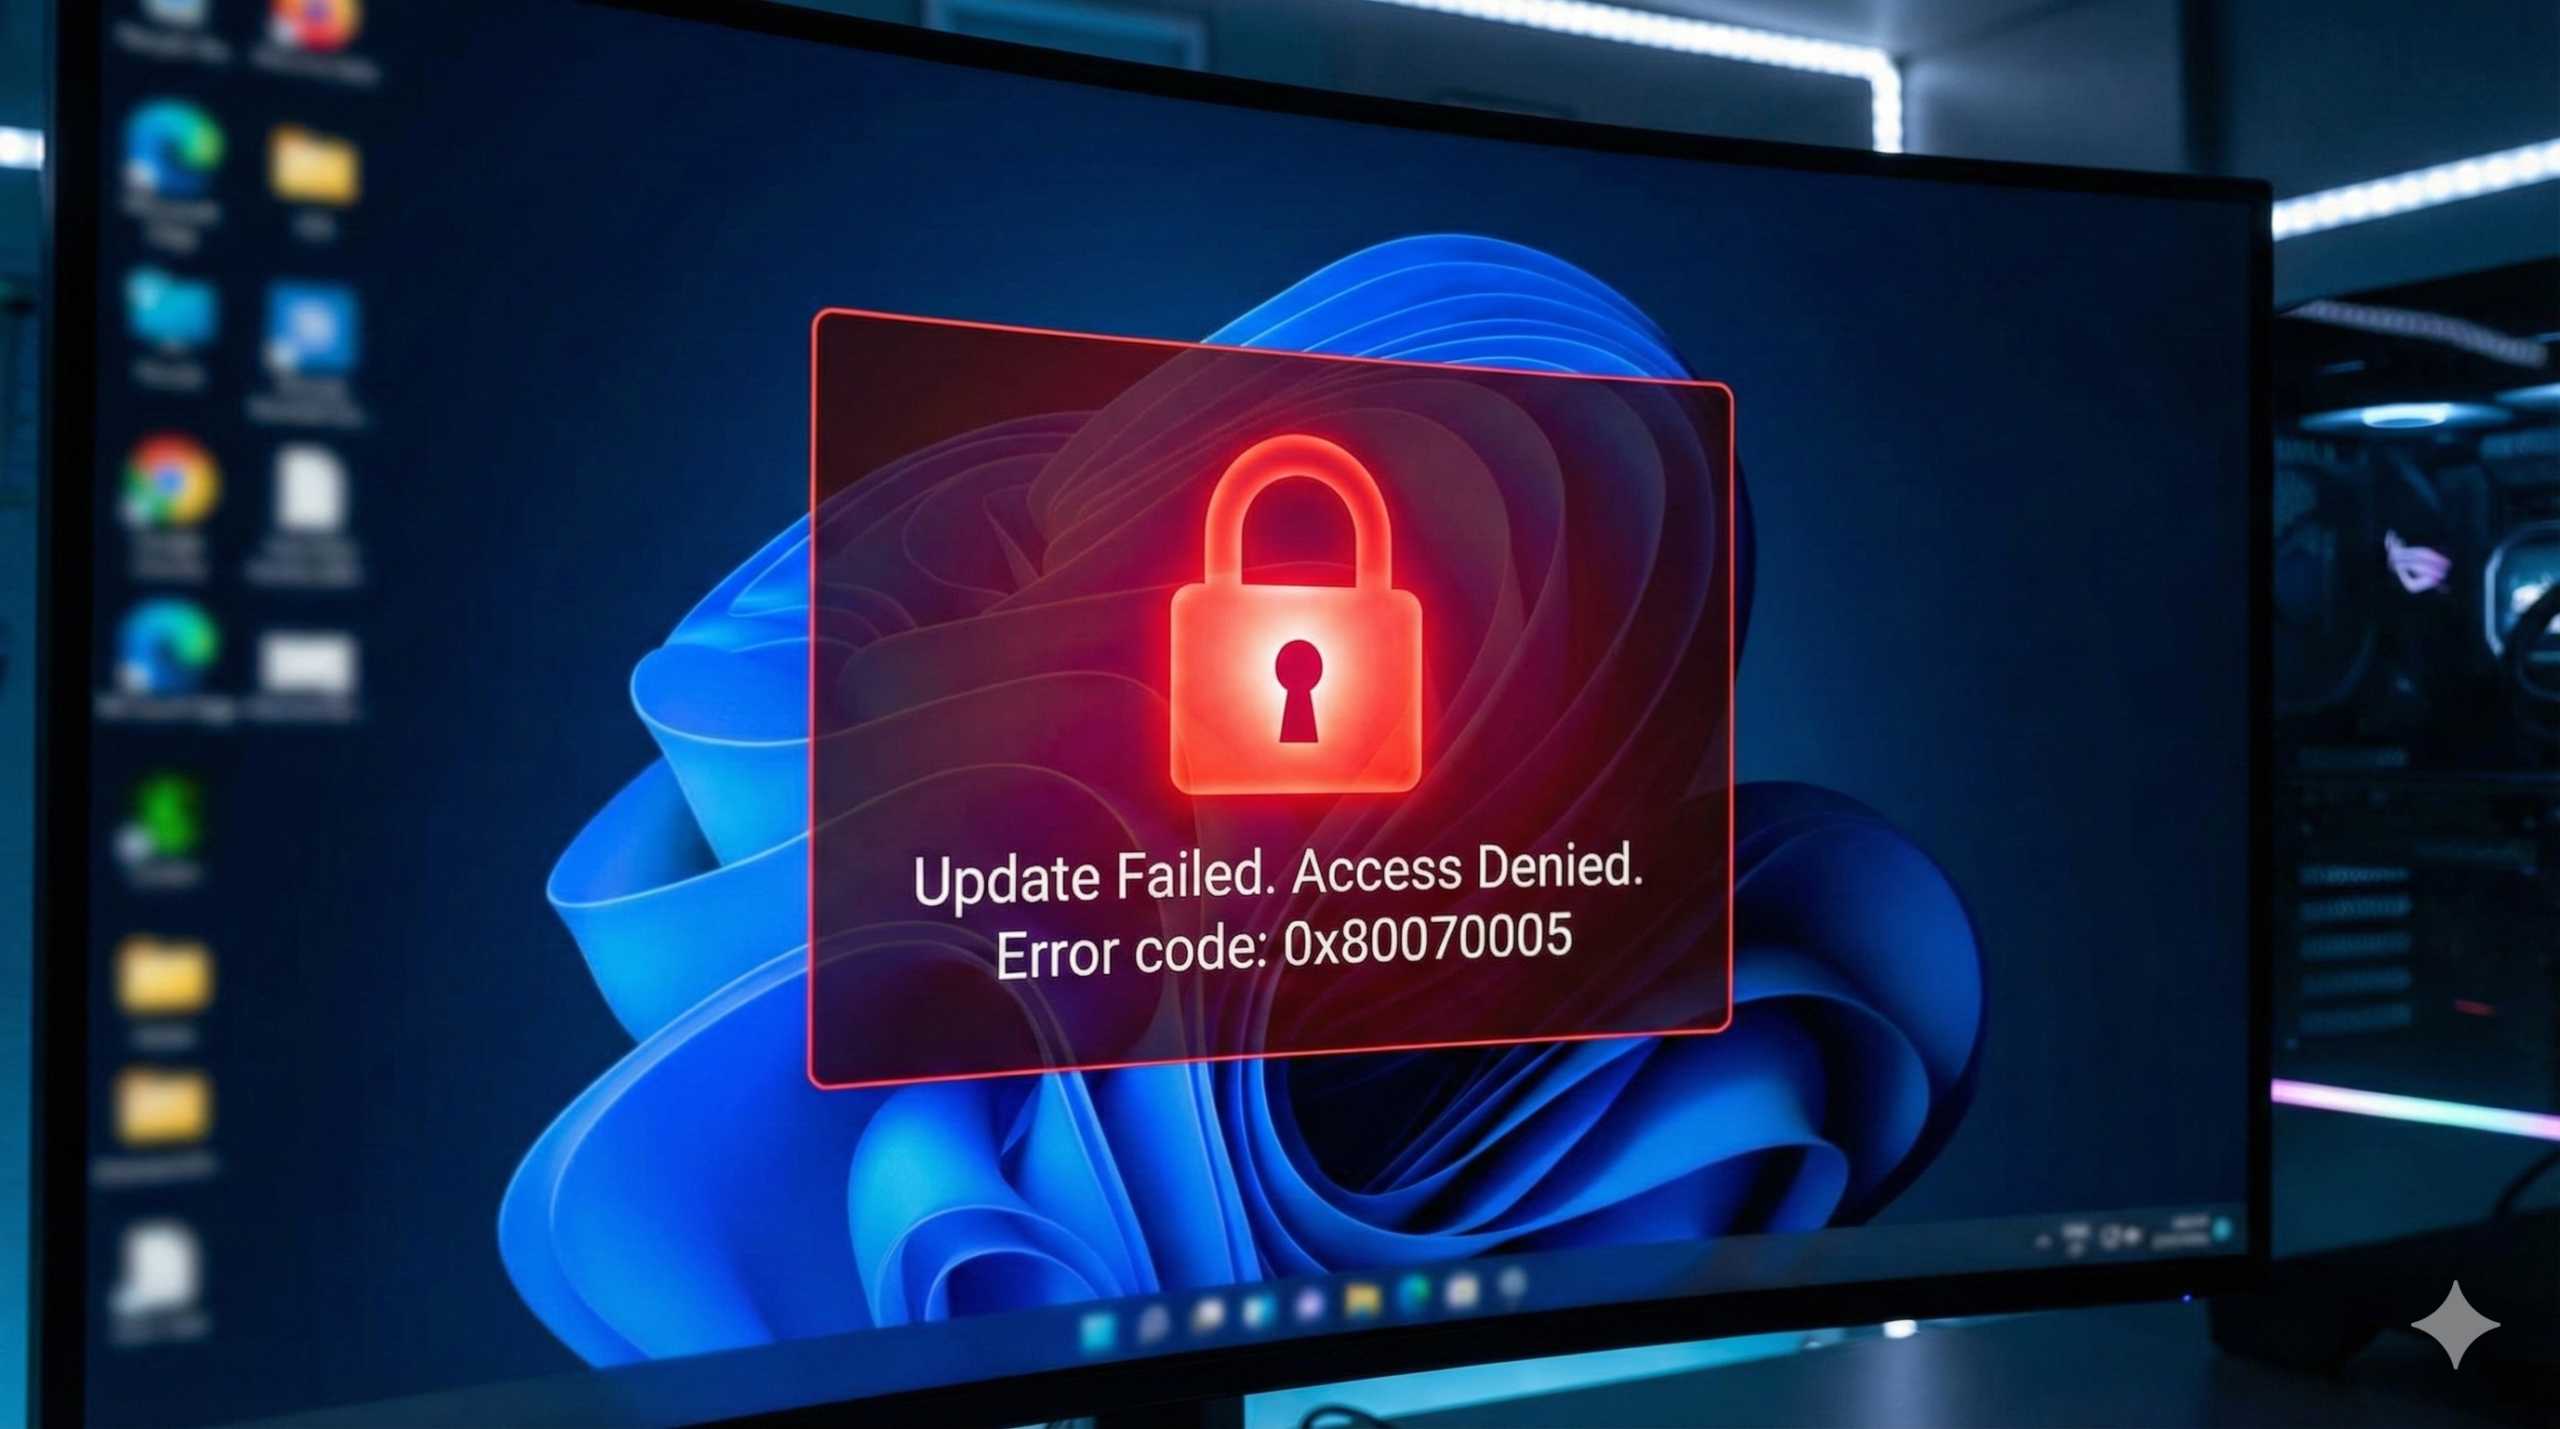
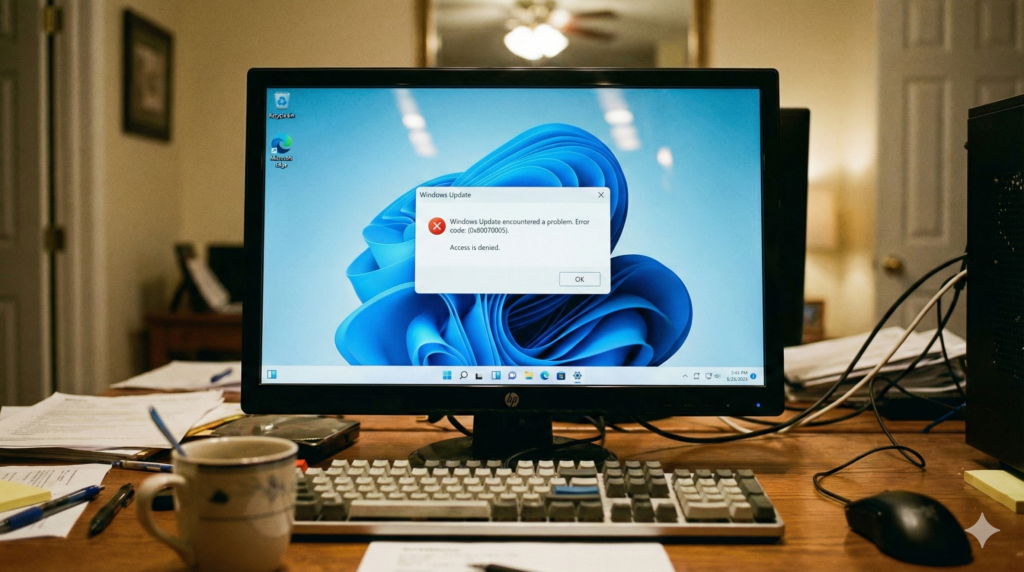
If you are seeing Fix Error 0x80070005, you are encountering one of the most common issues in the Windows ecosystem. In technical terms, this error code translates to “Access Denied.”
It essentially means that Windows (or a specific program) is trying to access a file or registry key but lacks the necessary permissions to do so. This blockage most frequently occurs during Windows Updates, when downloading apps from the Microsoft Store, or when trying to move or rename files. While frustrating, it is almost always fixable with a few permission adjustments.
“If you are also facing game crashes, check out our guide on Error 0xc00007b.
The Common Causes
Before diving into the fixes, it helps to understand why this is happening. The 0x80070005 error is usually triggered by one of the following:
- Insufficient User Privileges: You may be logged in as a standard user rather than an Administrator.
- Third-Party Antivirus: Aggressive security software can sometimes mistake legitimate Windows Update files for threats and lock them.
- Corrupted System Files: Essential update components may be missing or damaged.
Solution 1: Fix Error 0x80070005 by Using Admin Rights
Because this is an “Access Denied” error, the most direct fix is to ensure you have the authority to grant that access. You must be logged in as an Administrator to install most updates.
- Press the Start button and select the User Icon (usually on the far left or centered).
- Click Change account settings.
- Under your name, check if it says Administrator.
- If it says “Standard User,” you will need to log out and log back in with an account that has Admin rights.
- Pro Tip: If you are already an Admin, try running the problematic program by right-clicking it and selecting Run as Administrator.
Solution 2: Run the Windows Update Troubleshooter
Before attempting complex manual resets, use the built-in automated tool designed to fix update glitches. This tool can reset the update components for you.
For Windows 11:
- Go to Start > Settings > System > Troubleshoot.
- Select Other troubleshooters.
- Find Windows Update and click Run.
For Windows 10:
- Go to Start > Settings > Update & Security > Troubleshoot.
- Select Additional troubleshooters.
- Click Windows Update and then Run the troubleshooter.
Allow the tool to scan and apply fixes automatically, then restart your PC.
Solution 3: Check Disk Space & File Permissions
Sometimes “Access Denied” simply means “No Room” or “Wrong Folder Settings.”
Check Disk Space
Windows Updates require significant “breathing room” to unpack files before installing them.
- Navigate to Settings > System > Storage.
- Ensure your C: Drive has at least 10–20 GB of free space. If it is red/full, delete temporary files or uninstall unused apps.
Reset File Permissions (For Specific Folders)
If the error happens with a specific folder:
- Right-click the folder and select Properties.
- Go to the Security tab.
- Verify that your user account is listed and has Full control checked.
Solution 4: Scan for Malware
In rare cases, malware can hide itself by locking down system folders, preventing Windows from updating security definitions.
- Open Windows Security (search for it in the Start menu).
- Go to Virus & threat protection.
- Click Quick scan (or Scan options > Full scan for a deeper check).
- If threats are found, let Windows remove them, restart, and try the update again.
Conclusion
Error 0x80070005 looks intimidating, but it is simply your computer’s way of saying, “I don’t have permission to do this yet.” By confirming your Administrator rights and ensuring your system files are clean and accessible, you can bypass this block easily. Your PC is safe; it just needed the right authorization to proceed.

Next Step: If these steps don’t work, you may want to manually reset the Windows Update components using Command Prompt.
Advanced Fix: Manually Resetting Windows Update Components
This method is often called the “nuclear option” for Windows Update issues. If the automated troubleshooter didn’t work, this manual process forces Windows to clear its old update cache and download fresh files from the Microsoft servers.
Warning: You must run these commands exactly as written.
Step 1: Open Command Prompt as Administrator
You cannot perform these actions with a standard command prompt.
- Press the Start button and type cmd.
- In the search results, right-click Command Prompt and select Run as administrator.
- Click Yes if asked for permission.
Step 2: Stop Windows Update Services
We need to stop the background services so we can safely modify the system folders. Copy and paste the following commands into the black window one by one, pressing Enter after each line:
DOS
net stop wuauserv
net stop cryptSvc
net stop bits
net stop msiserver
Note: It is normal to see a message saying a service “was not started.” Just proceed to the next command.
Step 3: Rename the SoftwareDistribution and Catroot2 Folders
These two folders store the temporary update files. By renaming them, we force Windows to create new, empty ones. This eliminates any corrupted files hiding inside.
Type the following commands and press Enter after each:
DOS
ren C:\Windows\SoftwareDistribution SoftwareDistribution.old
ren C:\Windows\System32\catroot2 Catroot2.old
Step 4: Restart the Services
Now that the folders are reset, we need to turn the update services back on.
DOS
net start wuauserv
net start cryptSvc
net start bits
net start msiserver
Step 5: Restart Your PC
Close the Command Prompt window and restart your computer. Once you are back in Windows, go to Settings > Update & Security > Windows Update and click Check for updates. It may take a little longer than usual as it rebuilds the database.
For more details, you can visit the official Microsoft Support Page.
Yorumlar kapalı.