
Introduction
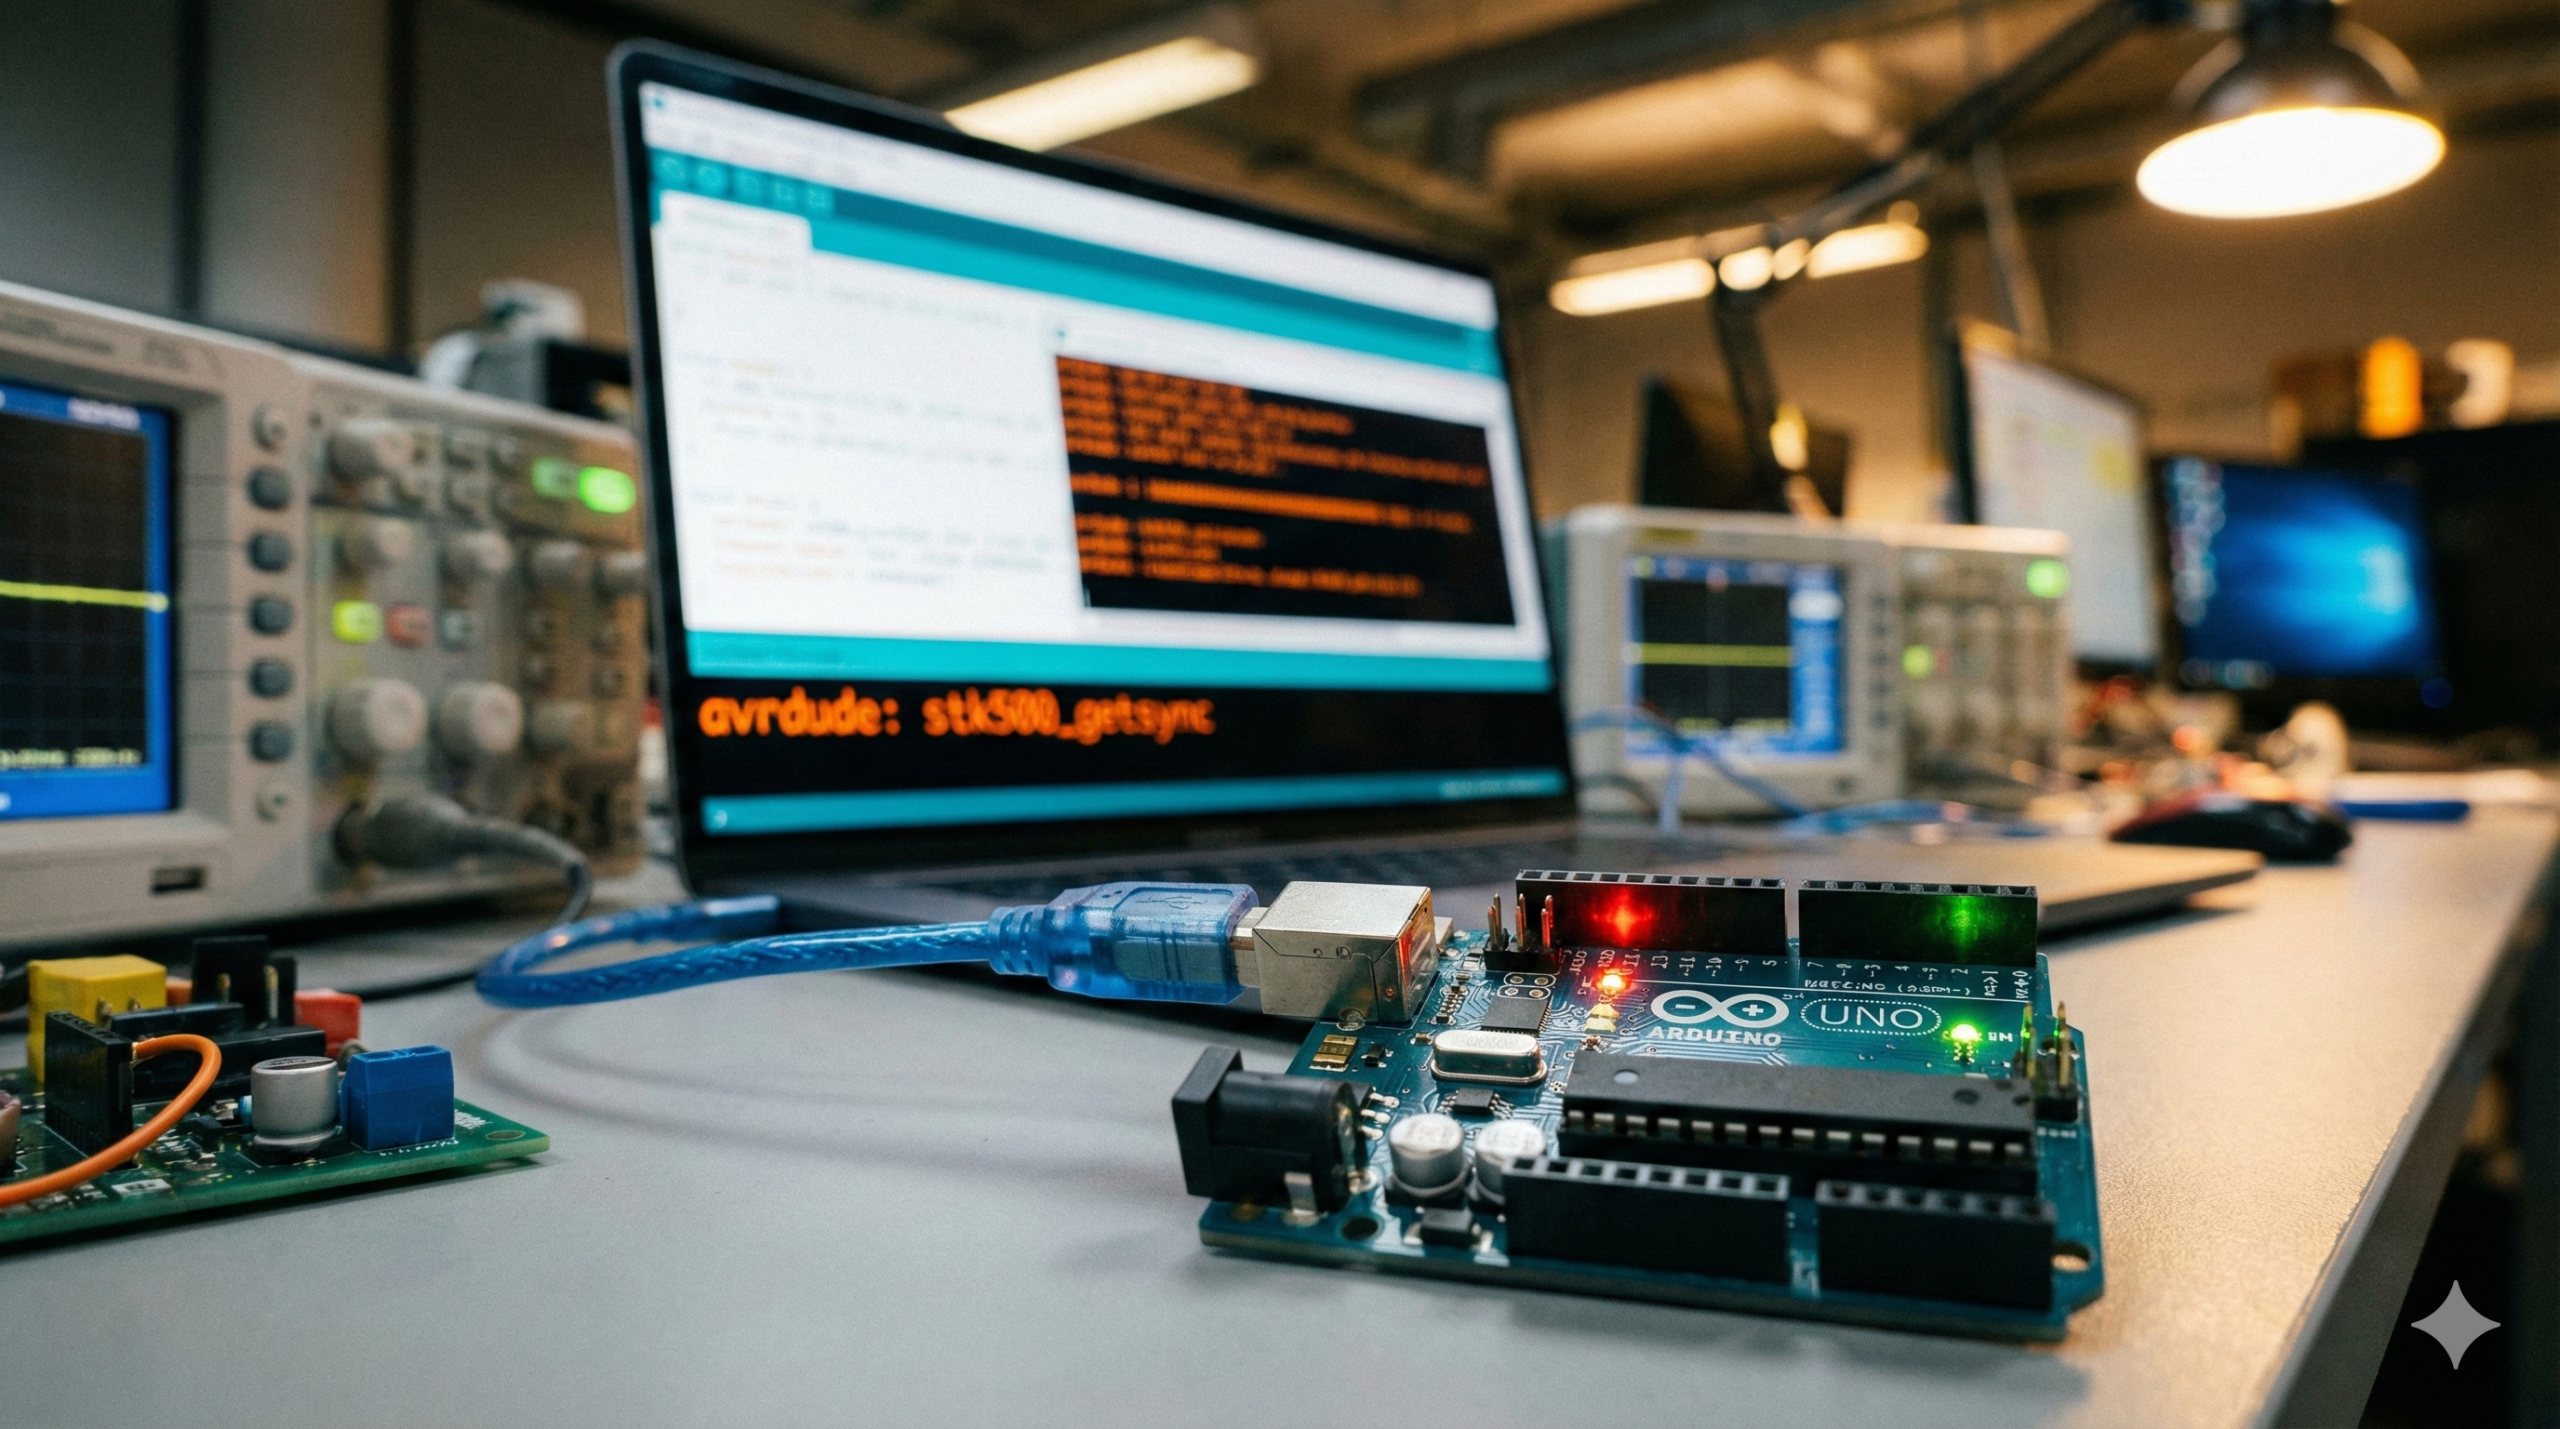
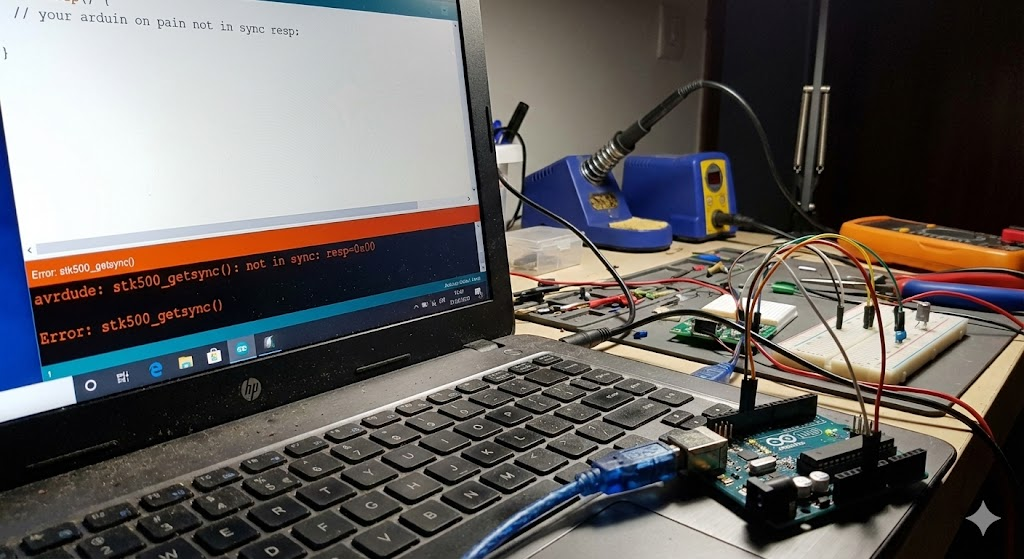
You wrote the perfect code, hit Upload, and waited… only to see the orange error text: avrdude: stk500_getsync(). In this guide, we will help you fix avrdude stk500_getsync error, which is the most common and frustrating Arduino issue capable of stopping a project dead in its tracks.
In technical terms, this error means there is a communication breakdown. Your computer is shouting data at the Arduino via the USB cable, but the microcontroller isn’t acknowledging it. The “sync” has failed. If you are struggling to fix avrdude stk500_getsync error, don’t worry—it rarely means your board is broken. In 99% of cases, it’s a configuration or driver issue that can be solved in minutes.
Here is the exact error you are likely seeing:
Plaintext
avrdude: stk500_getsync() attempt 10 of 10: not in sync: resp=0x00
Step 1: Check the Basics (The “Duh” Moments)
Before we dive into driver updates or bootloaders, we need to rule out the simple stuff. These are the most frequent culprits for connectivity issues.
Select the Correct COM Port
The Arduino IDE doesn’t always automatically select the port your board is connected to.
- Plug your Arduino into the computer.
- Go to Tools > Port.
- If the menu is grayed out, your computer doesn’t see the board at all (check the cable section below).
- If multiple ports are listed, try unplugging the board and seeing which one disappears, then plug it back in and select that one.
- Windows User Note: You can verify the port number in Device Manager under “Ports (COM & LPT)”.
Verify Board Selection
You must tell the IDE exactly which board you are talking to.
- Go to Tools > Board.
- Ensure the correct model is selected (e.g., select “Arduino Uno” for an Uno, not “Arduino Nano”).
The USB Cable Trap
This is a classic headache for makers. Many Micro-USB and Mini-USB cables lying around your house are “charge only” cables meant for powering headphones or simple gadgets. They lack the internal data wires needed for programming.
- The Fix: Swap your USB cable with a known high-quality “data cable” (like one used for a smartphone or hard drive).
Step 2: The “Old Bootloader” Trick (Specific for Arduino Nano)
If you are using an Arduino Nano—especially a generic clone version purchased online—this is the most crucial step. These boards often use an older version of the bootloader software that the modern Arduino IDE doesn’t default to.
How to Switch Processors
- Go to Tools > Board and select Arduino Nano.
- Go to the Tools > Processor menu.
- Change the selection from “ATmega328P” to “ATmega328P (Old Bootloader)”.
- Try uploading your code again.
This single change solves about 80% of stk500_getsync errors for Nano users.
Step 3: Driver Installation (CH340 Drivers)
Official Arduino boards use a specific USB-to-Serial chip (often an ATmega16U2). However, most affordable compatible boards (clones) use a chip called the CH340 (or CH340G/CH341).
Windows and macOS do not always have these drivers pre-installed.
Checking for the Driver
- Open Device Manager (Windows).
- Look under Ports (COM & LPT).
- If you see “USB-SERIAL CH340” listed, your drivers are fine.
- If you see “Unknown Device” or nothing happens when you plug the board in, you need to download and install the CH340 driver. A quick search for “CH340 driver [your OS]” will get you the files you need.
Step 4: The Reset Button Method (Timing is Key)
Sometimes the Arduino is stuck running a previous program that is blocking the upload, or the auto-reset circuit isn’t triggering correctly. We can manually force a reset to synchronize the upload.
The Manual Sync Procedure
- Press and HOLD the Reset button on your Arduino board.
- While holding the button, click Upload in the Arduino IDE.
- Watch the status bar at the bottom of the IDE window. It will say “Compiling sketch…” and then change to “Uploading…”.
- The moment you see the text change to “Uploading…”, release the Reset button.
This may take a few tries to get the timing right, but it is a powerful way to bypass sync errors caused by a “jammed” serial port.
Conclusion
Troubleshooting hardware communication requires a bit of patience, but methodically going through these steps fixes the vast majority of sync issues. You are essentially acting as the translator between your PC and your microcontroller.
Once you see that “Done Uploading” message, you are ready to get back to building.
Now that your hardware is ready, make sure your coding environment is smooth too. Check our guide on how to Fix Git Merge Conflicts in VS Code.